
Journals10
Newest
100310
5 min read

i really want everyone who is interested to try it.
so, i figured easiest way.
DO NOT NEED expensive camera, lens, flash, and big water tank.
if you have one, you can use it too.
since this is simple and basic, you can apply your own idea and develop into your own art very easily.
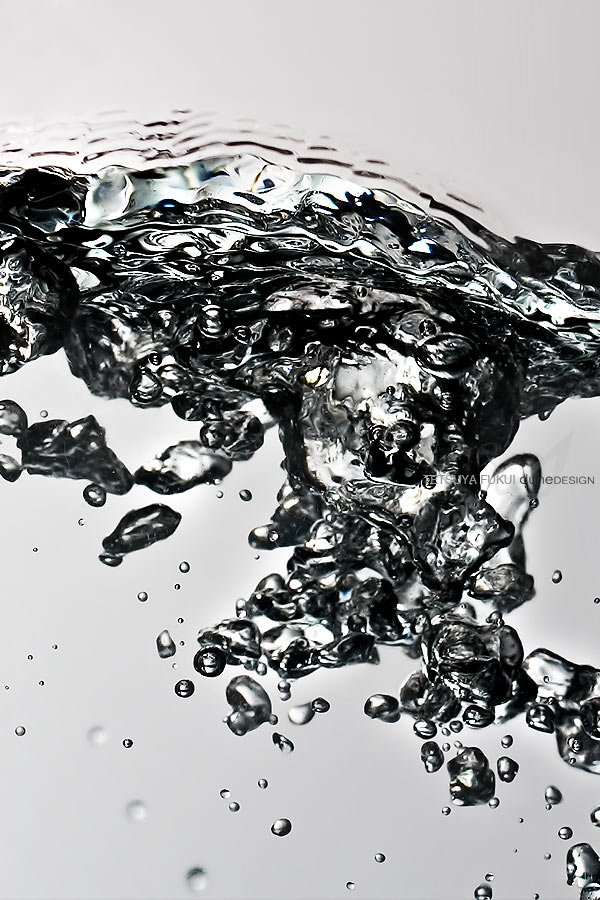
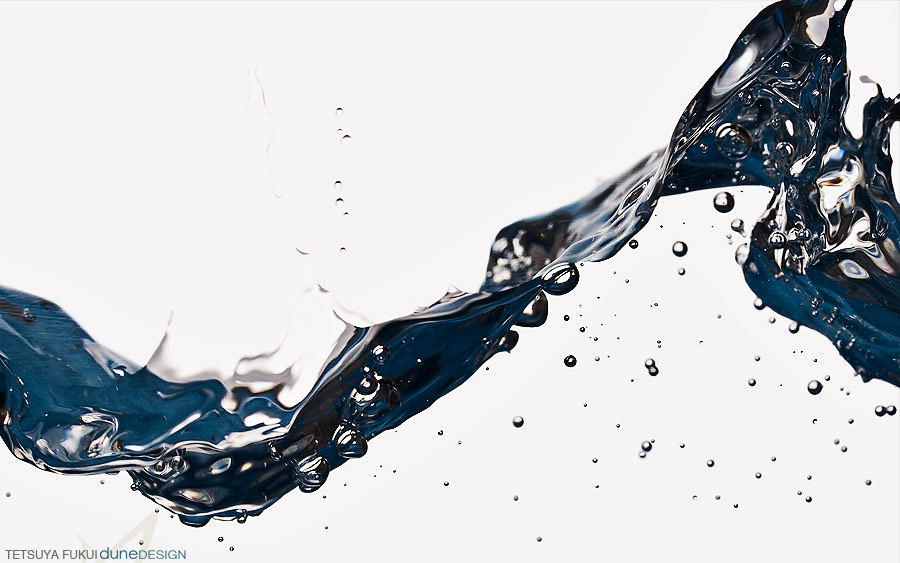
1. get water container

these are the small containers that can be used.
they are very small, focusing problem may occur.
very difficult to get dynamic wave in this size.

i found they are ideal to get good wave shots.
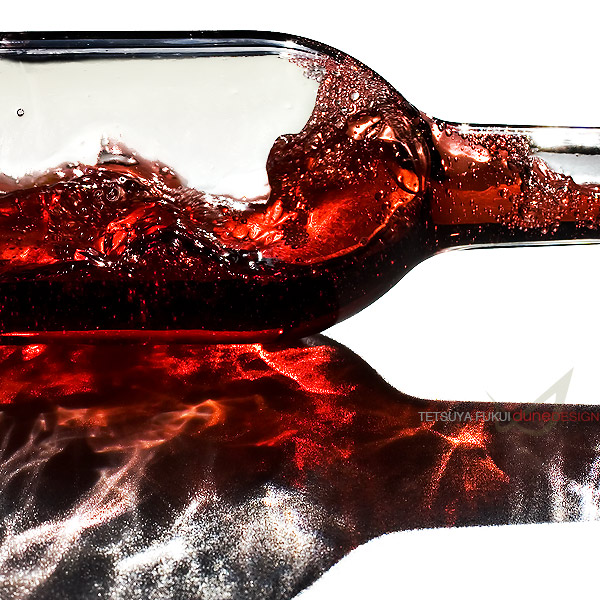
1L glass container, wine bottle, 2L soda bottle.
i prefer something 1.5 to 2 litter soda bottle.
because of its nature,
soda bottle design is simpler than other drinks.
less bumps, smoother curves, so pick this one!
* you do not use soda itself for taking photo.
if you use it, bubble will cover entire bottle
surface and does not look cool in photograph.

any drink bottle that has bumpy design is not good.
these bumps will be distracting to achieve clean shot.
translucent food saving containers are not good either.
you may see through the water but looks very dull in photograph.
2. preparation

rinse it and put water, then put the screw cap back
the amount of water in 40 to 50% works good for clean wave.
please put "water", no colored juice, oil. at your 1st try.
be careful with temperature. must be the room temperature.
if you put cold water, leave it for a while. . . otherwise,
outside of the bottle will be frosted by the moisture around.
hot water does the same to inside wall. but, in this case,
simply rotate the bottle to remove that.
3. setup

the red paper is not related this shot.
i just took sushi before this shot.
prepare black (/ dark) paper or board on the desk
and put the bottle on the top of it
to get a shot like my animation, you can tape it on the board.
and shake them together.
4. camera settings
Tripod
set your camera on tripod
* using tripod is very important.
* or simply tape it to stack of phone books or something.
Shutter speed
chose as slow as possible.
i mean, if you take 1/125 and you can get a crisp shot, then 1/125 is good.
you can go up 1/250 >1/500 >1/800 > 1/1000 > 1/1250....
usually water wave moves slow, so somewhere 1/250 to 1/800 should be fast enough,
but if shake it very fast, you may need to set faster shutter speed.
ISO
as high as possible.
if you use flash, you know what to pick.
if you use sunlight, take it fine day, at very bright place.
then ISO = 400 would be good enough.
Aperture value
I usually use f5 to f8.
but when i take this at cloudy day, i have to pick f2.8 to f4 sometimes.
and i got only several shots i can use out of 1000 or more shots.
to take a shot at fine day, and set f5 or above may be good to get crisp focus.
and make everything easier than cloudy day.
focus
i do not use Auto focus for this.
manual focus at where wave is happening is the best way.
Lighting and Exposure
if you are not sure about Lighting and Exposure,
here is my blog entry for Studio Life Group.
>>>> studio-life.deviantart.com/blo… <<<<

read it with this journal may get you more idea about this shot.
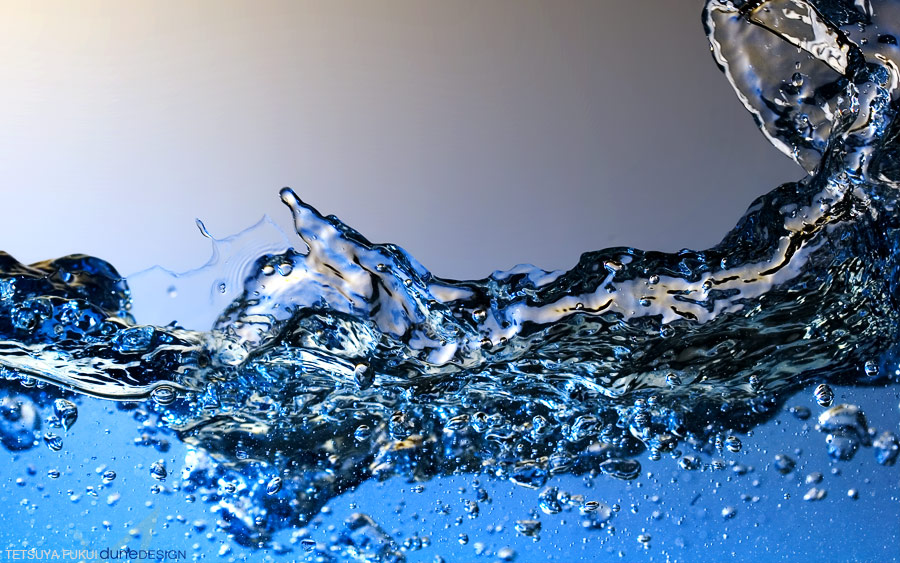
5. SHAKE IT and TAKE IT
* using one hand to shake your bottle, and use other to take a photo.

try to get wave like this.
and take shots.
HERE ARE SOME APPLICATIONS I DID.
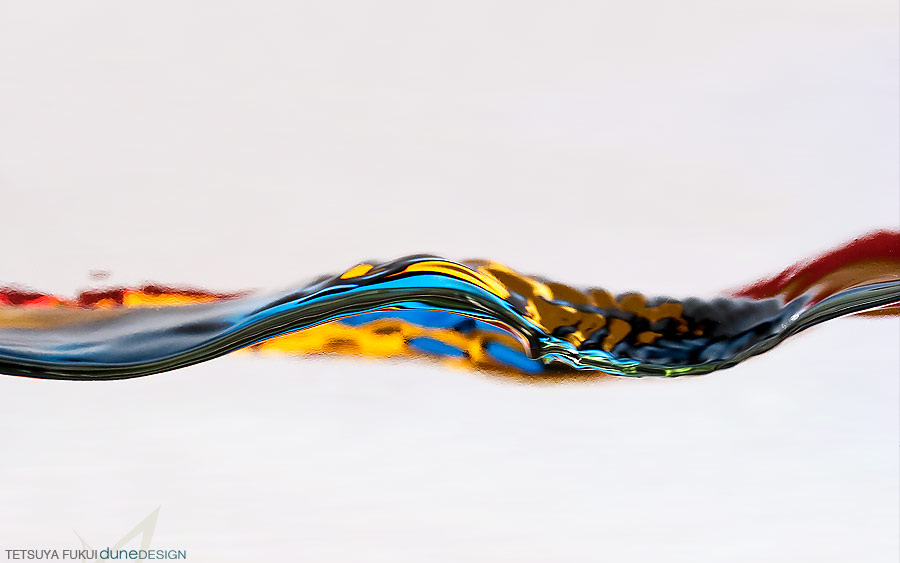
put your favorite colored paper(s) to get colorful result.
bigger tank and closeup setting will get this.
put reflective material on the bottom.
this is by flash with blue-yellow color filters.

this is taken 45 degree upper angle, water is in plastic container for clothes.
middle size container close up shot.
thank you for reading it.
i hope this will help you in some way.
if you can share your wave shot, i will be very very happy.
Join the community to add your comment. Already a deviant? Log In
100206
7 min read
i got DD on

thank you so

Alosa
&

PurpelBlur
and thank you so much for many supports on my DD.
to show my appreciation and to answer questions that i have asked so far,
i decided to update my journal.
since i made this in couple hours,
if you find incomprehensible or have any questions, please write in this journal.
please do not send me a note. thank you.
i am still in the middle of thank you process, so it might take a time to answer further questions.
thus, i will do BTS of WATER WAVE next time. i am very sorry for this change.
behind the scenes
- Kinchan a go go -

S E T U P
i guess you can see most of them just by looking at the photo.

i took this later, there is a window behind in actual setup
i shot this way, to avoid back lit condition, so i can take a clean shot of the setup.

CAMERA
Canon 20D
LENS
EFs60mm MACRO
TRIPOD
Velbon ULTRA LUXi L
DESK
you can change according to your condition, in my case i used DESK to get better light from the window.
i took this at a fine day. i did not use flash for this. if i have to wait for charging time, fish can swim away.
WHITE BOARD
white board can be in any color. that will be the color of your background.
WATER CONTAINER
water tank or container must be larger than your frame so that fish can swim out from your frame smoothly.
otherwise, you would end up fish stay at the end of your frame and never frame out.
moreover, they slow down before they hit the wall. thus more room you have more speedy and smoother result you can get.
TRIPOD
to get stable result, tripod is a must.
personally, i can not do this by holding my camera by myself.
L-VIEW FINDER
this will give me very exact focus.
without this, i mean before i get this, i always get out of focus problems.
however, if you have good eyesight, you can do it without it.
REMOTE CONTROL
i did not use timer for this.
used this as remote shutter release.
since i do not touch the camera in this way, no matter how hard i press, it won't shake the system.
BACKDROP
this is 6' by 6'.
you do not have to buy any of this.
translucent vinyl or tracing tissue will do the same job.
get anything you can and tape them on the window.
or if you do not mind having shadows, you do not need it at all.
S H O O T I N G

this contains several sequences.
LENS
60mm
shot/sec
3 to 4
ISO
200
shutter speed
1/200
aperture value
f5
these numbers are the examples that i used for this case.
you have to change some parts according to your environment.
eg) if your place is darker than mine, or you take it cloudy day, you need ISO 400 to 800 or even higher.
eg) if your fish swim much faster than my fish, then you need faster shutter speed.
eg) if your lens is not a prime, i mean a zoom, then you want to get harder than f5. may be.
take test shots and check the detail by your PC.
if it is crisp enough?
....NO> need harder aperture value.
if it is bright enough?
....NO> need more light, higher ISO, softer aperture, slower shutter speed....
and after take test shots, you can test an animation.
if it is smooth enough?
....NO> take more shots per second.
TIPS
start as high ISO as possible. ...not means highest of your camera.
usually 2nd or 3rd highest is the one you can pick for quality reason.
it all depends on your camera.
try to put some white papers to reflect more light, when you need.
pick a fish swims very slow to make everything easier. everything.
the speed of the animation at the top of this page is tweaked.
i took 3 to 4 shots per sec. if you count the frames you will see how slow he was.
i thought real speed look too slow, so i added some kick to it in my editing.
please do not think you can take a fish in this speed with regular DSLR.
pick slowest shutter speed as possible. means slowest but still you have to stop the motion of your subject by that speed.
pick softest aperture value as possible. means you do not have to go way too hard to get better focus.
if you are taking this just for animation, you may not need that crisp shot.
if you use wider lens, such as 24mm, you need wider tank, or make the distance between lens and water shorter than my photo.
finally,
when all setup are settled, you can take final shots.
to take it, there is just little more tip.
as you see in my example, you have to take a first shot when your fish is actually enter your frame.
and you have to end when it cross your frame.
so first shot must have its head (partially), and last shot must have its tail (partially).
otherwise, it looks not smooth and difficult to transit to next sequence.
that is all.
now you can bring to any animation software by your choice.
i use Adobe Image Ready.
good luck !
and
Thank you so much.
Join the community to add your comment. Already a deviant? Log In
100203
5 min read


mayoofka's contest winners
more details here >>> news.deviantart.com/article/10…
this contest has many many winners, 12 winners all together.
as you can see, they have very nice style.
there are so many great works i could not show you here because of my limited space.
if you are interested, visit their gallery.
congratulations to the winners!
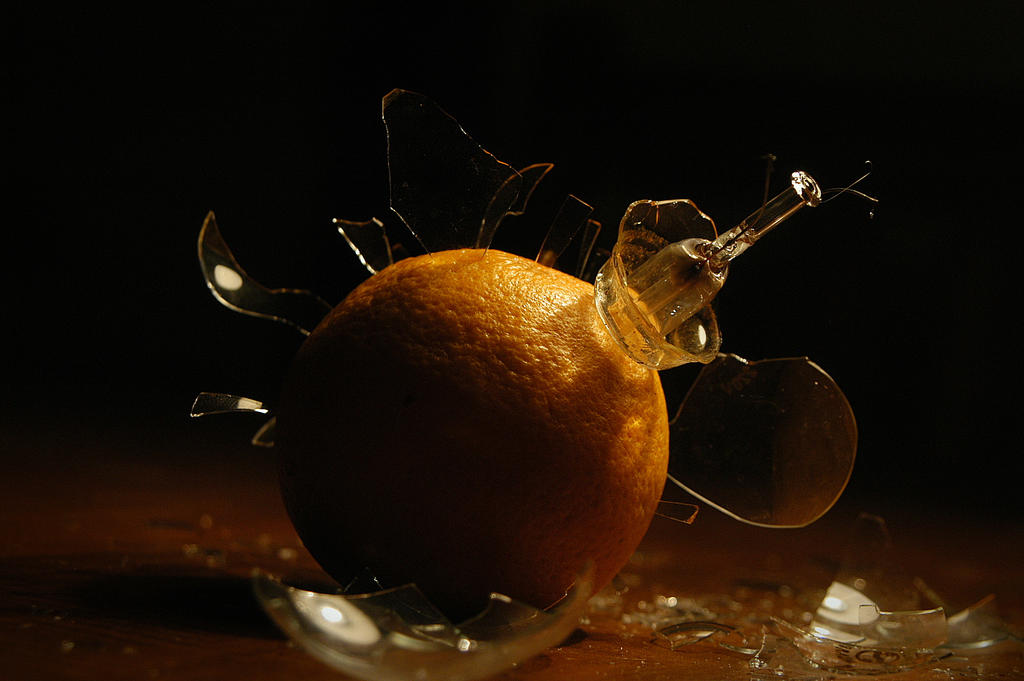
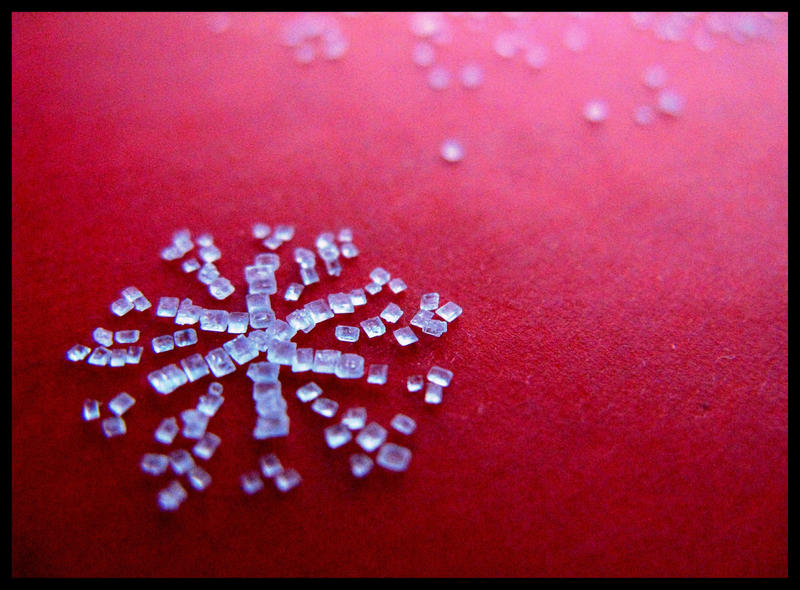
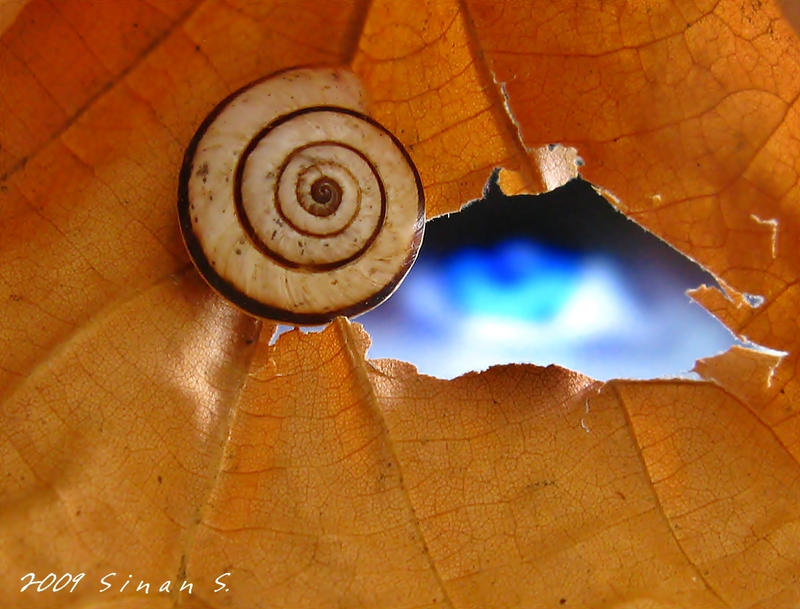
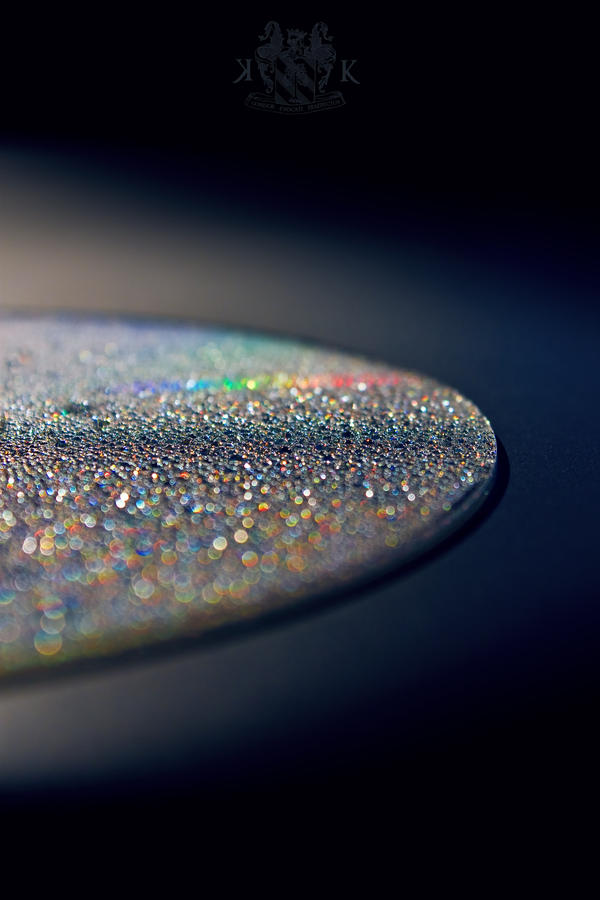
TEXTURE MACRO CATEGORY

aStRaLiLiTu


Shirekeeper


Replicante


valyeszter


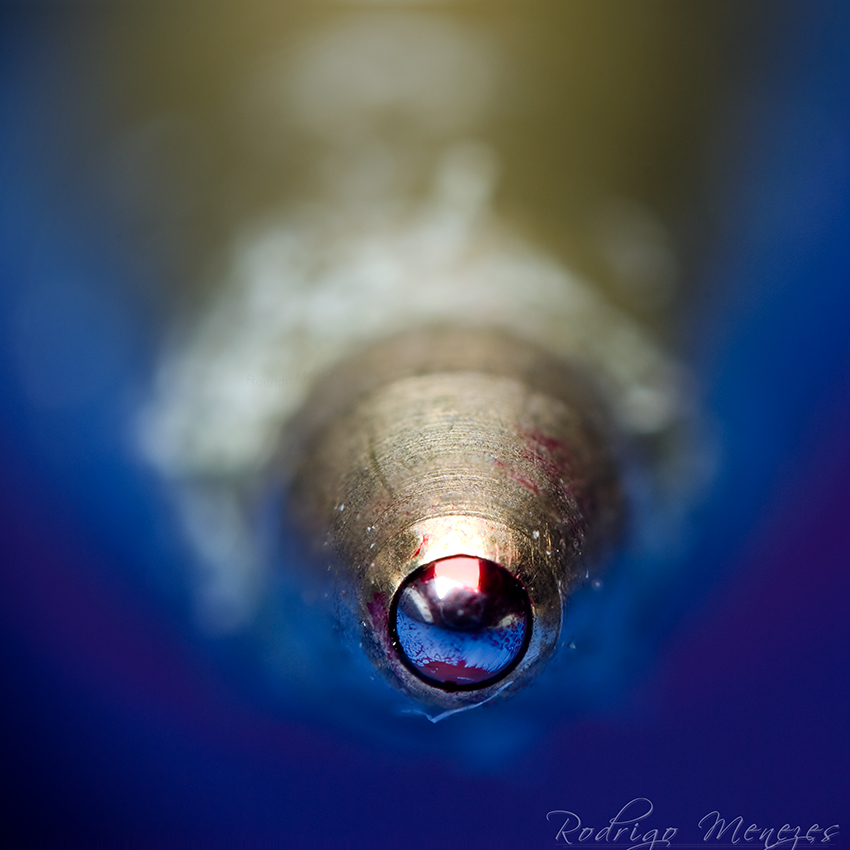
CONCEPT MACRO CATEGORY

juanfox94


1510


sinanTR


no-soap-was-harmed
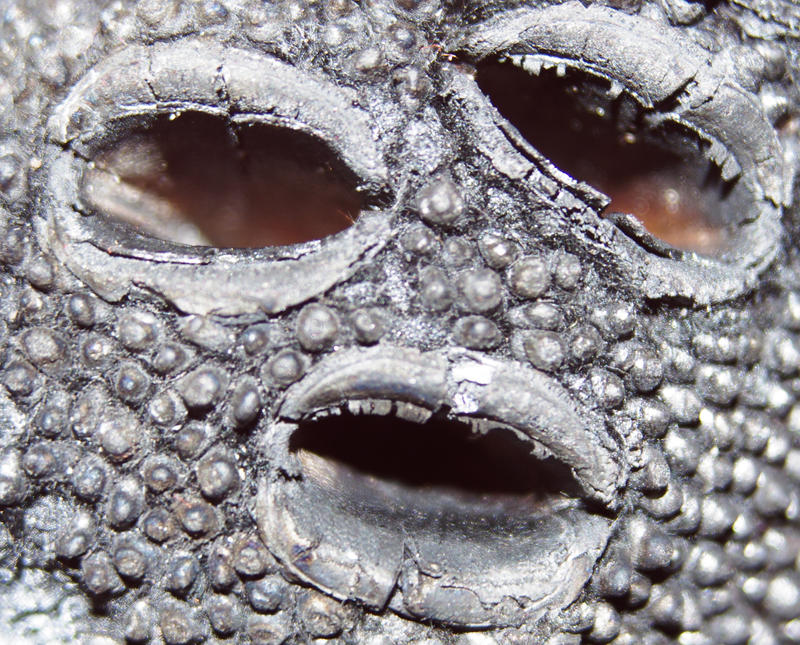


OBJECT MACRO CATEGORY

passionheart


anderton


beregond3019


ironmanbr


Join the community to add your comment. Already a deviant? Log In
091214
3 min read
at first, i am very sorry for being very inactive.
i just checked your deviations.
and i have not checked JOURNAL, COMMENT, FAVS, NEW WATCHERS....
i will do one by one when i have a time.


sorry for being very rough and brief.
hope this will answer each question i got.
i just checked your deviations.
and i have not checked JOURNAL, COMMENT, FAVS, NEW WATCHERS....
i will do one by one when i have a time.
behind the scenes
oops series
this time i tried 2 different ways to get FALLING image. in both ways, subjects were not actually falling down though.
1
for liquid subject, i set up a big plastic sheet to make entire session easy to handle.
in the center of this sheet, there is a hole. liquid must go direct to this hole and collected.
for liquid subject, i set up a big plastic sheet to make entire session easy to handle.
in the center of this sheet, there is a hole. liquid must go direct to this hole and collected.
2
i used boom to hold each objects and shoot all in clean condition at first.
i used boom to hold each objects and shoot all in clean condition at first.
3
then take coffee cup with coffee. in this way, i can take as many shots as i want without cleaning them.
then take coffee cup with coffee. in this way, i can take as many shots as i want without cleaning them.
4
underneath the plastic sheet, i put a stainless bowl to get all coffee. i used two bowls. once one of them gets full, change to another bowl and use that coffee for the shot. so i can keep doing this until i get really tired.
underneath the plastic sheet, i put a stainless bowl to get all coffee. i used two bowls. once one of them gets full, change to another bowl and use that coffee for the shot. so i can keep doing this until i get really tired.
5
the other case is something that can hold the shape. at first, i made beef part by cray. and painted in several layers of different colors. in addition, i made it wet right before i took a shot.
the other case is something that can hold the shape. at first, i made beef part by cray. and painted in several layers of different colors. in addition, i made it wet right before i took a shot.
6
for this shot, i used strings to hold each in place. this way, i can shoot them from many different angles.
for this shot, i used strings to hold each in place. this way, i can shoot them from many different angles.
7
for this shot, i used shoot through umbrella for a shadow free ambient light. and i used another flash to get a shadow and more contrast. i moved another flash several places by checking the result. final rasio was about 3 : 1
for this shot, i used shoot through umbrella for a shadow free ambient light. and i used another flash to get a shadow and more contrast. i moved another flash several places by checking the result. final rasio was about 3 : 1
8
since this is about falling objects, i took some shots in vertical motion for post process.
since this is about falling objects, i took some shots in vertical motion for post process.
sorry for being very rough and brief.
hope this will answer each question i got.
Join the community to add your comment. Already a deviant? Log In
090830
3 min read
theme feature
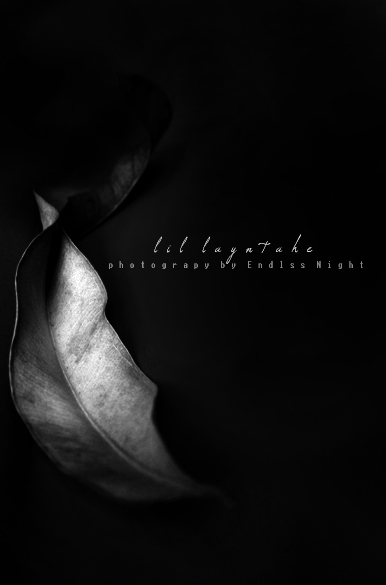
ultimate simplified format
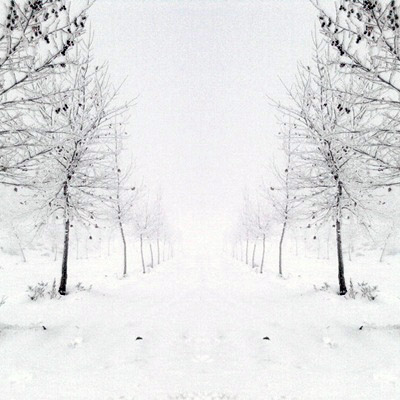
since i am making BLACK on BLACK, WHITE on WHITE, and some MONOCHROMATIC shots right now, i want to do theme feature related to them.
my biggest influence on this topic is Valentino Garavani's ALL WHITE COLLECTION in 60's. he did entire fashion show only with white materials. "when we do not enjoy colors, what we can enjoy?" texture, patterns, lines, movements..... all other supporting elements came in center of focus. i think he is genius.
it is the same in 2D formats. since they contain less information than color formats, even less than regular B&W, i feel they are ultimate simplified format to express something strong. i love them so much because they can reveal something about the subject in very straight forward way. thus a message we see in this format is so simple and bold.
i have selected some of my most favorite creations in this category to share with you. they are great inspirations and influences on me for what i am working right now. hope you can enjoy them.


Join the community to add your comment. Already a deviant? Log In
Featured
100310 by TE2YA, journal
100310
i really want everyone who is interested to try it.
so, i figured easiest way.
DO NOT NEED expensive camera, lens, flash, and big water tank.
if you have one, you can use it too.
since this is simple and basic, you can apply your own idea and develop into your own art very easily.
1. get water container
these are the small containers that can be used.
they are very small, focusing problem may occur.
very difficult to get dynamic wave in this size.
i found they are ideal to get good wave shots.
1L glass container, wine bottle, 2L soda bottle.
i prefer something 1.5 to 2 litter soda bottle.
because of its nature,
soda bottle desig
100206 by TE2YA, journal
100206
i got DD on
thank you so:la:oo much
~Alosa (https://www.deviantart.com/alosa)
Alosa
&
:iconPurpelBlur:
PurpelBlur
and thank you so much for many supports on my DD.
to show my appreciation and to answer questions that i have asked so far,
i decided to update my journal.
since i made this in couple hours,
if you find incomprehensible or have any questions, please write in this journal.
please do not send me a note. thank you.
i am still in the middle of thank you process, so it might take a time to answer further questions.
thus, i will do BTS of WATER WAVE next time. i am very sorry for this change.
behind the scenes
- Kinchan a go go -
S E T U P
i gu
100203 by TE2YA, journal
100203
~mayoofka (https://www.deviantart.com/mayoofka)
mayoofka's contest winners
more details here >>> http://news.deviantart.com/article/107943/
this contest has many many winners, 12 winners all together.
as you can see, they have very nice style.
there are so many great works i could not show you here because of my limited space.
if you are interested, visit their gallery.
congratulations to the winners!
TEXTURE MACRO CATEGORY
:iconaStRaLiLiTu:
aStRaLiLiTu
:iconShirekeeper:
Shirekeeper
:iconReplicante:
Replicante
:iconvalyeszter:
valyeszter
CONCEPT MACRO CATEGORY
:iconjuanfox94:
juanfox94
:icon1510:
1510
:iconsinanTR:
sinanTR
:iconno-soap-was-harmed:
n
091214 by TE2YA, journal
091214
at first, i am very sorry for being very inactive.
i just checked your deviations.
and i have not checked JOURNAL, COMMENT, FAVS, NEW WATCHERS....
i will do one by one when i have a time.
behind the scenes
oops series
this time i tried 2 different ways to get FALLING image. in both ways, subjects were not actually falling down though.
1
for liquid subject, i set up a big plastic sheet to make entire session easy to handle.
in the center of this sheet, there is a hole. liquid must go direct to this hole and collected.
2
i used boom to hold each objects and shoot all in clean condition at first.
3
then take coffee cup with coffee.
090830 by TE2YA, journal
090830
theme feature
ultimate simplified format
since i am making BLACK on BLACK, WHITE on WHITE, and some MONOCHROMATIC shots right now, i want to do theme feature related to them.
my biggest influence on this topic is Valentino Garavani's ALL WHITE COLLECTION in 60's. he did entire fashion show only with white materials. "when we do not enjoy colors, what we can enjoy?" texture, patterns, lines, movements..... all other supporting elements came in center of focus. i think he is genius.
it is the same in 2D formats. since they contain less information than color formats, even less than regular B&W, i feel they are ultimate simplified format